Author: Anuj Bhasin
Introduction
Email Notification is required to alert the administrator of the success and failures of Pipelines so that immediate actions can be taken for delays in the pipelines.
Implementation of Email Notification Using Matillion
Step 1: Environment Setup
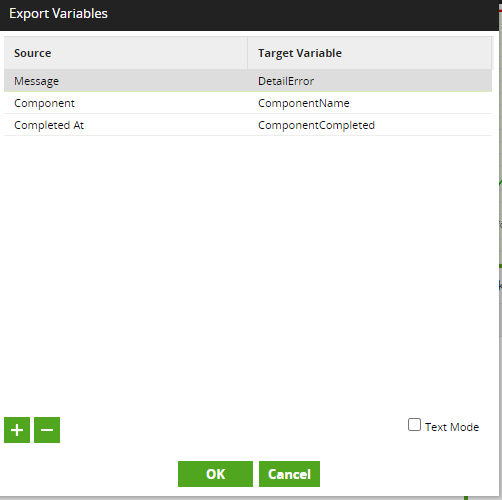
Create Three Environment Variables to store Component Name , Component Completed Time and Error Message that are used while reporting Error in Mail.

Now Map all three Variables in all those components where error is possible and need to stop pipeline and trigger the mail for the particular error.
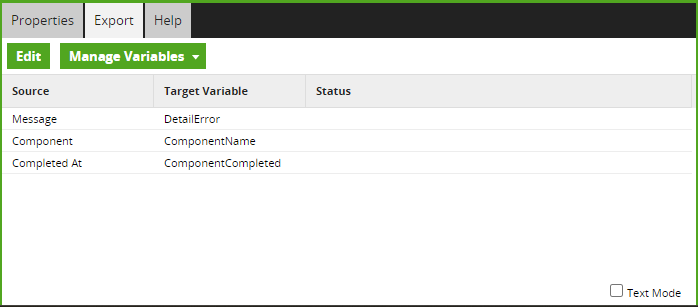
Click Any Component -> Click Export Tab (present right to Properties Tab) then Map as per below Screenshot by clicking edit button then plus sign Button.
Step 2: Matillion Orchestration
In Matillion Orchestration Job Search for Send Email Component and Drag Send Email Component in the Canvas.

Step 3: Outlook
Create one mail account on outlook.com for Sending Mails as Outlook account gives some Privileges for Matillion to send mails.
Step 4: Components
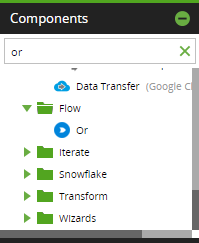
Search for OR Component and Drag to the canvas.
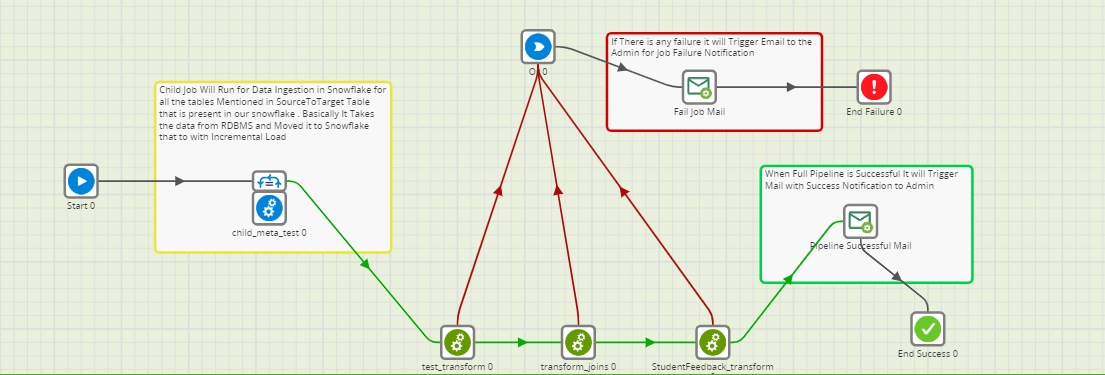
Step 5: Connect Components
Connect Failure connector of every component with the OR component and Connect Or with the Send Email Component.
Step 6: Configure
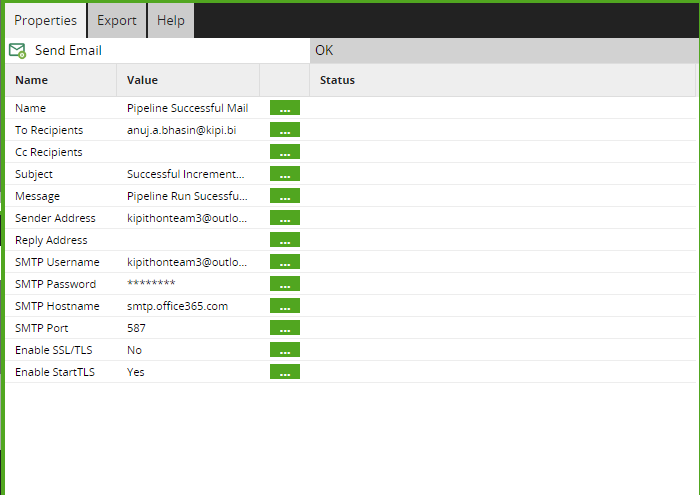
Now Configure Property of Send Email Component as per below Screenshot (This is for Outlook mail).

To Recipient: Enter Mail where you want Notification
Subject – Subject for Mail
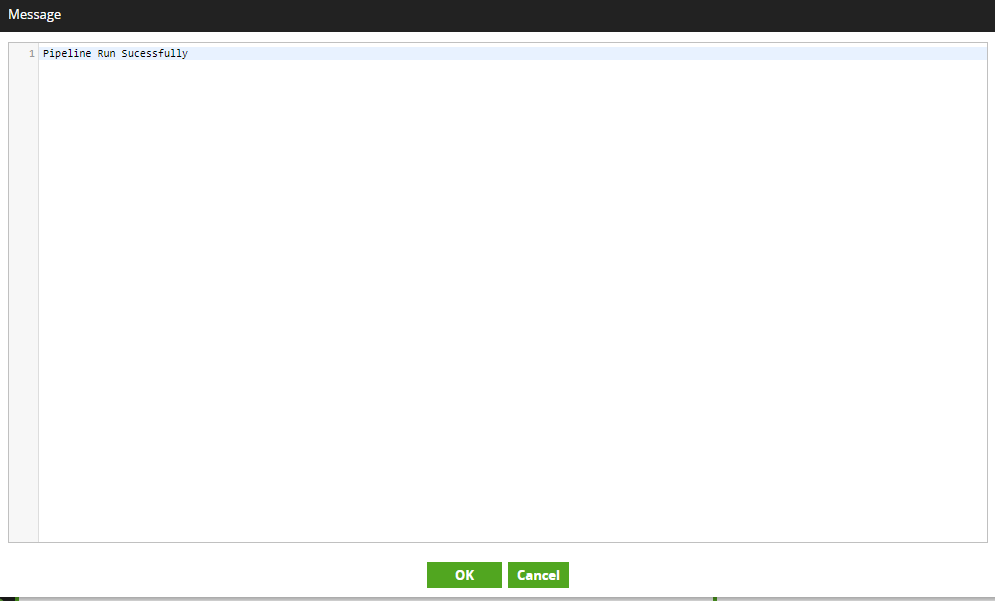
Message – Your Mail Body, below are some System defined and user defined variables are there to define these things in mail body dynamically

Sender Address – Outlook Account you have created
SMTP username – Outlook Account Email you have created
SMTP Password Outlook – Account Password you have created (You Password Manager for this)
SMTP Host Name – smtp.office365.com ( only for outlook)
SMTP Port – 587 (only for outlook)
Step 7: Connect
Connect this Send Email Component with End Failure as this is case of Failure in Pipeline.

Step 8: Repeat the Process
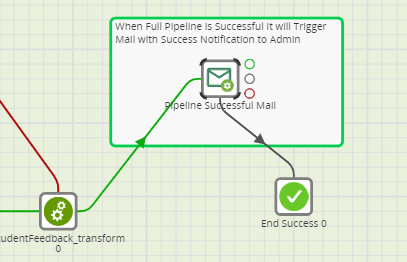
Repeat process for Success Case.
You can similarly Configure one more send email component for Success Case separately by repeating above step as per changing body and mail ids for success case and make connection of last component’s success with send email component that is configured for success email notification of pipeline as mentioned in screen shot above in step 5 and connect with End Success Component as it is case of success.
Step 9: Errors
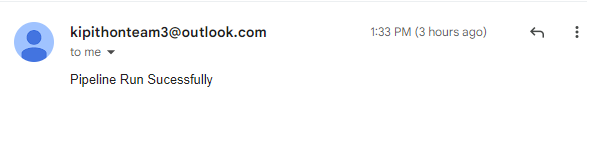
When Pipeline is run if there is any error, we will receive Email Notification of Error.

Step 10: Success
When Pipeline is successful, we will receive Email Notification for Success as well.